How to Use a Compass Without GPS

GPS made people sloppy. A phone can show a blue dot until the battery dies, the screen cracks, the signal gets ugly, or you drop it in a creek. A compass doesn’t solve every navigation problem by itself, but it gives you one thing electronics can’t promise: a repeatable direction you can verify against a paper map.
Most beginner compass articles teach the ritual without the reason. Turn the bezel, put red in the shed, walk forward. Fine, until the map uses true north, your compass points magnetic north, and the local declination shoves you several hundred feet sideways by the time you’ve walked a mile. That’s not trivia. That’s how people miss trails, water sources, roads, and camp.
This is the field method: use the right compass, read the right north reference, correct for declination, walk a bearing in short legs, and check yourself before a small error becomes a long search.
What compass should a beginner carry?
A beginner should carry a transparent baseplate compass or a sighting compass with a 0–360° rotating bezel, a direction-of-travel arrow, an orienting arrow, orienting lines, a straight edge, and preferably declination adjustment. A mirror compass helps with more accurate sighting, but a plain baseplate compass is enough to learn real navigation.
The bargain-bin button compass belongs on a zipper pull, not in your primary navigation kit. It can tell you roughly which way north is. It can’t plot a clean map bearing, align with grid lines, or let you repeat a bearing with enough precision to matter in broken terrain.
The transparent baseplate matters because you can see map features underneath it. The straight edge matters because you need to connect your location to your destination on the map. The rotating bezel matters because navigation uses degrees, not vibes. The orienting lines inside the bezel matter because they let you align the compass with map north. Declination adjustment is worth paying for because it removes one mental math step when you’re tired, cold, or under pressure.
If you’re packing around the usual 10 essentials for hiking, don’t treat the compass as a ceremonial item. Pair it with the topo map for the area you’re actually entering. A compass without a map gives direction. A compass with a map gives decisions.
Why doesn’t a compass point to true north?
A compass points toward magnetic north, not true north, in most places. The angle between those two directions is magnetic declination, and ignoring it is the fastest way to make your bearing look right while your route goes wrong.
NOAA defines declination as positive when magnetic north is east of true north and negative when magnetic north is west of true north. It also changes with both location and time, which is why copying an old number from an old map without checking it is lazy navigation. Use the NOAA magnetic declination calculator for the area and date you’re dealing with.
The numbers get ugly fast. A 1° bearing error puts you about 92 feet off course per mile. A 5° error puts you about 460 feet off course per mile. A 10° error puts you about 920 feet off course per mile. That’s simple trig, lateral error is approximately distance multiplied by the sine of the angle error. In the field, that means the cabin, trail junction, ridge saddle, or creek crossing you expected to hit head-on is now somewhere in the timber.
NOAA also warns that magnetic declination is unreliable near the poles. That’s not a beginner concern for most American backcountry travel, but it proves the larger point: a compass is tied to the behavior of the magnetic field, not some perfect universal north arrow.
How do you read the north arrows on a USGS topo map?
A USGS topographic map can show three different north references: true north marked by a star, grid north marked GN, and magnetic north marked MN. Those arrows are not decoration, and treating them as interchangeable is amateur hour.
True north points to the geographic North Pole. Grid north follows the map grid. Magnetic north is the direction a compass pointed when the map was published. That last phrase is the trap. If the map is old, the magnetic north arrow and declination value printed on it may not match today’s magnetic field.
The USGS compass and topographic map guide is worth reading because it keeps the map and compass together instead of pretending a compass alone is navigation. Current US Topo maps also use a 1,000-meter UTM grid, which is useful for measuring distance and plotting positions. That grid gives you a practical scale for route legs instead of guessing how far that next drainage or ridge shoulder really is.
Don’t just glance at the bottom margin of a topo map and fold it away. Find the north diagram. Identify true north, grid north, and magnetic north. Check the map date. Check current declination. Then decide what north reference your bearing will use.
How do you set declination before walking?
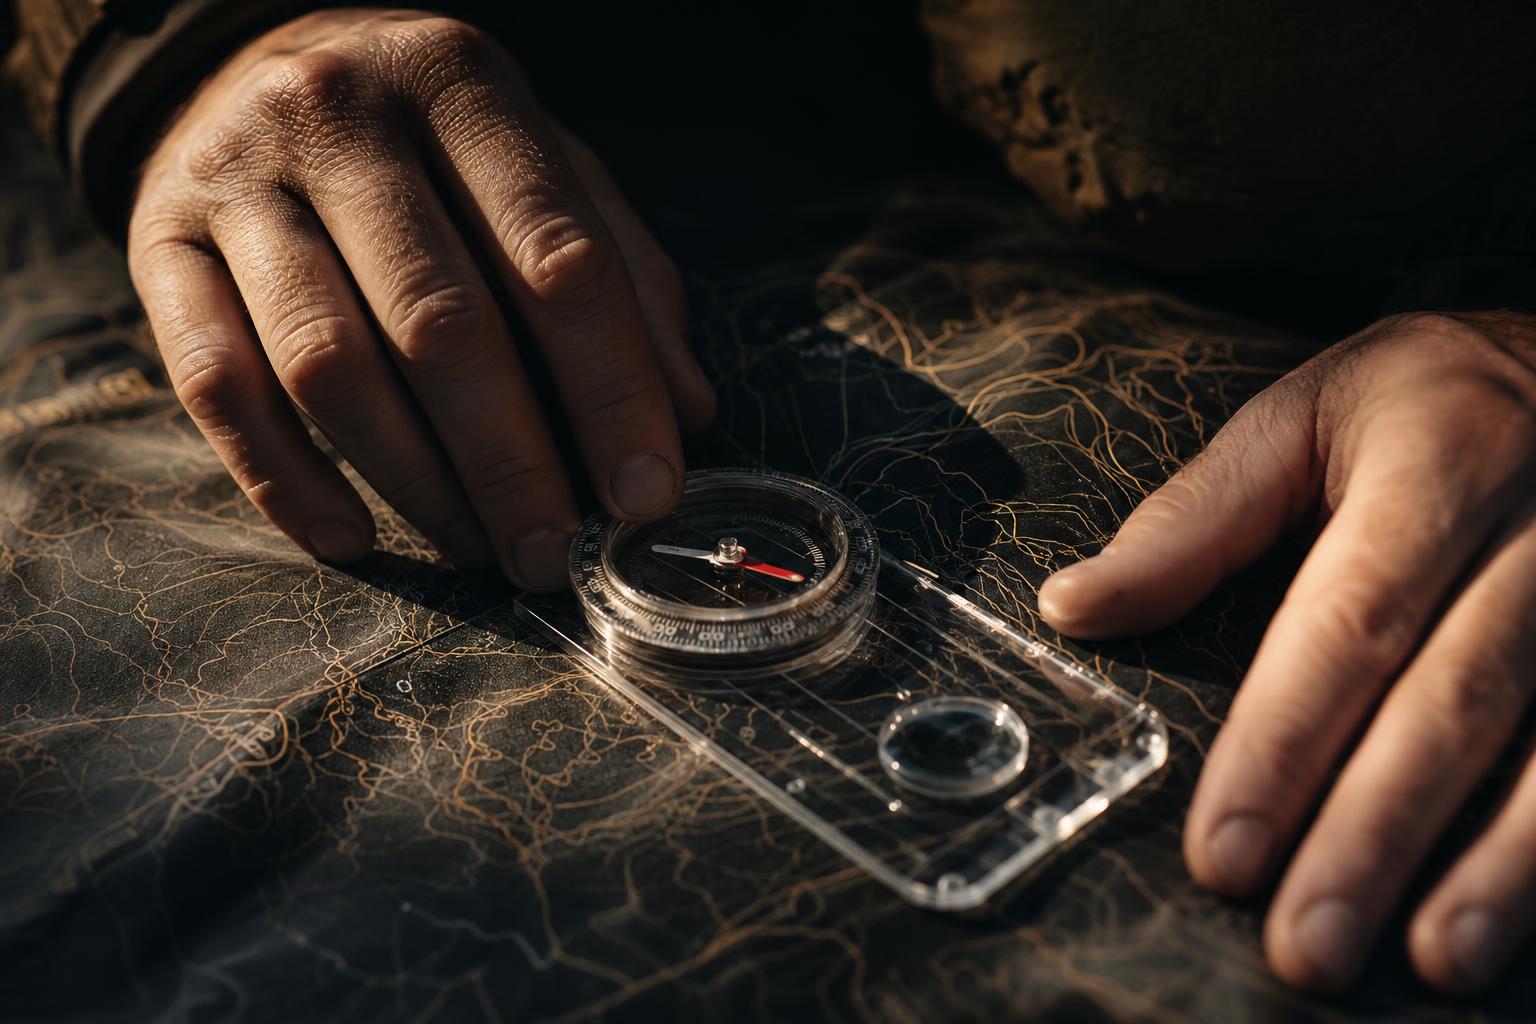
Set declination on the compass if your model allows it, using the current declination for your exact location and date. If your compass doesn’t adjust for declination, keep the map bearing and magnetic bearing conversion deliberate, written down, and checked twice.
Compass brands don’t all handle declination adjustment the same way, so use the instructions for your specific model. The concept is simple: you’re making the compass account for the angle between true north and magnetic north before you start walking. Once an adjustable compass is set correctly, you can take bearings from a properly oriented map with less mental conversion.
With a non-adjustable compass, don’t rely on a half-remembered rule you heard from a scoutmaster in 1998. NOAA’s sign convention is clear: east declination is positive, west declination is negative. The safe field practice is to write the local declination at the top of your map and label whether the bearing you’re using is a true bearing, grid bearing, or magnetic bearing. Sloppy labels cause sloppy walking.
Work one system at a time. If you plot a route on the map using map north, convert it to the magnetic bearing your compass needs before you walk. If you shoot a magnetic bearing in the field and transfer it back to the map, convert it back to the map’s north reference before drawing lines. Mixing references without labeling them is how a competent person manufactures a bad route.
How do you take a bearing from the map and walk it?
Draw or imagine a line from your known position to your destination, align the compass edge to that line, rotate the bezel to match map north, then walk with the magnetic needle aligned to the orienting arrow. That’s the core skill, and it only works if your declination handling is already correct.
- Put the map flat. Use the flattest surface you have. Your knee is better than waving the map in the air.
- Place the compass edge on the route. The direction-of-travel arrow must point from where you are toward where you want to go.
- Rotate the bezel. Turn it until the orienting lines inside the bezel run parallel with the map’s north reference lines. Keep the compass body fixed on your route line while you do this.
- Apply declination. If your compass is adjusted, this step is already built in. If not, convert the bearing before walking.
- Lift the compass and hold it level. Turn your body until the magnetic needle sits inside the orienting arrow.
- Pick a visible target. Choose a tree, rock, gap, or terrain feature directly on the bearing. Walk to that. Repeat.
Walking while staring at the needle is a beginner mistake. You’ll drift around brush, deadfall, and gullies. Pick a target on the line, move to it, and shoot again. In thick timber, your target may be close. In open country, it can be far. The compass gives the line. Your eyes pick the next reachable point on that line.
Distance matters as much as direction. A perfect bearing with no distance control is still guesswork. Use the 1,000-meter UTM grid on current US Topo maps to estimate route legs. If the next handrail is one grid square away, you’re thinking in meters instead of hope. You don’t need to overcomplicate it. Know the distance you expect to travel before the terrain changes, then notice when the terrain does or does not match the map.
How do you find your location with a compass?
You find your location by taking bearings to identifiable features, transferring those lines onto the map, and looking for their intersection. One bearing gives a line of position. Two or more bearings narrow the answer.
This only works with features you can identify on the map and in the real world. A peak, road bend, bridge, lake point, ridge end, or obvious saddle is useful. A random tree line is not. The more certain you are about the feature, the more useful the bearing becomes.
Shoot the bearing to the known feature. Convert it to the map’s north reference if needed. Place the compass on the map so the edge runs through that feature at the correct angle, then draw a line back toward your general area. Do the same with a second known feature. Where the lines cross is your likely position. A third line shows how much error you’re carrying.
Bad intersections tell you something too. If three lines form a fat triangle instead of meeting near one point, don’t pretend the center is magic. One of your feature IDs, bearings, or declination conversions is off. Fix the error before you walk deeper into it.
What compass mistakes get beginners lost?
The biggest beginner mistakes are ignoring declination, trusting old printed map declination, confusing true north with magnetic north, and walking long distances on a bearing without checking terrain and distance. None of those mistakes feels dramatic while you’re making it. That’s why they’re dangerous.
The worst advice online is the stripped-down compass trick that says to turn until the red needle sits in the shed and start walking. That can point you north. It does not navigate you to a destination on a topo map unless the bearing, north reference, and declination are all handled correctly.
- Using magnetic north from an old map. USGS magnetic north on a map represents the direction a compass pointed when the map was published. Old maps can carry old magnetic information.
- Skipping current declination. NOAA says declination changes with location and time. Your map margin is not automatically current.
- Walking a 10° mistake like it’s close enough. Ten degrees is about 920 feet of lateral error per mile. In steep or wooded terrain, that can make your target vanish.
- Not knowing whether you’re using true, grid, or magnetic bearings. USGS maps can show all three north references. Pick one workflow and label your numbers.
- Using a compass without a straight edge or rotating bezel. You can’t plot clean bearings with a toy.
Field navigation rewards boring habits. Write the declination. Label bearings. Estimate distance. Use terrain handrails when available. Stop early when the map and ground stop agreeing. The person who pauses for two minutes usually beats the person who charges ahead for twenty.
How does compass navigation fit into a bug out bag?
A compass belongs in a bug out bag because it keeps working when GPS doesn’t, but it only earns the space if you also carry the right map and know the procedure. Gear without skill is just pocket weight.
People love packing bug out bag essentials they can photograph on a table. Compass work doesn’t photograph as well as knives and fire kits, but wilderness survival navigation is one of the bushcraft skills that actually changes outcomes. Direction controls every other decision. The wrong direction turns good water planning, shelter planning, and food planning into a longer problem.
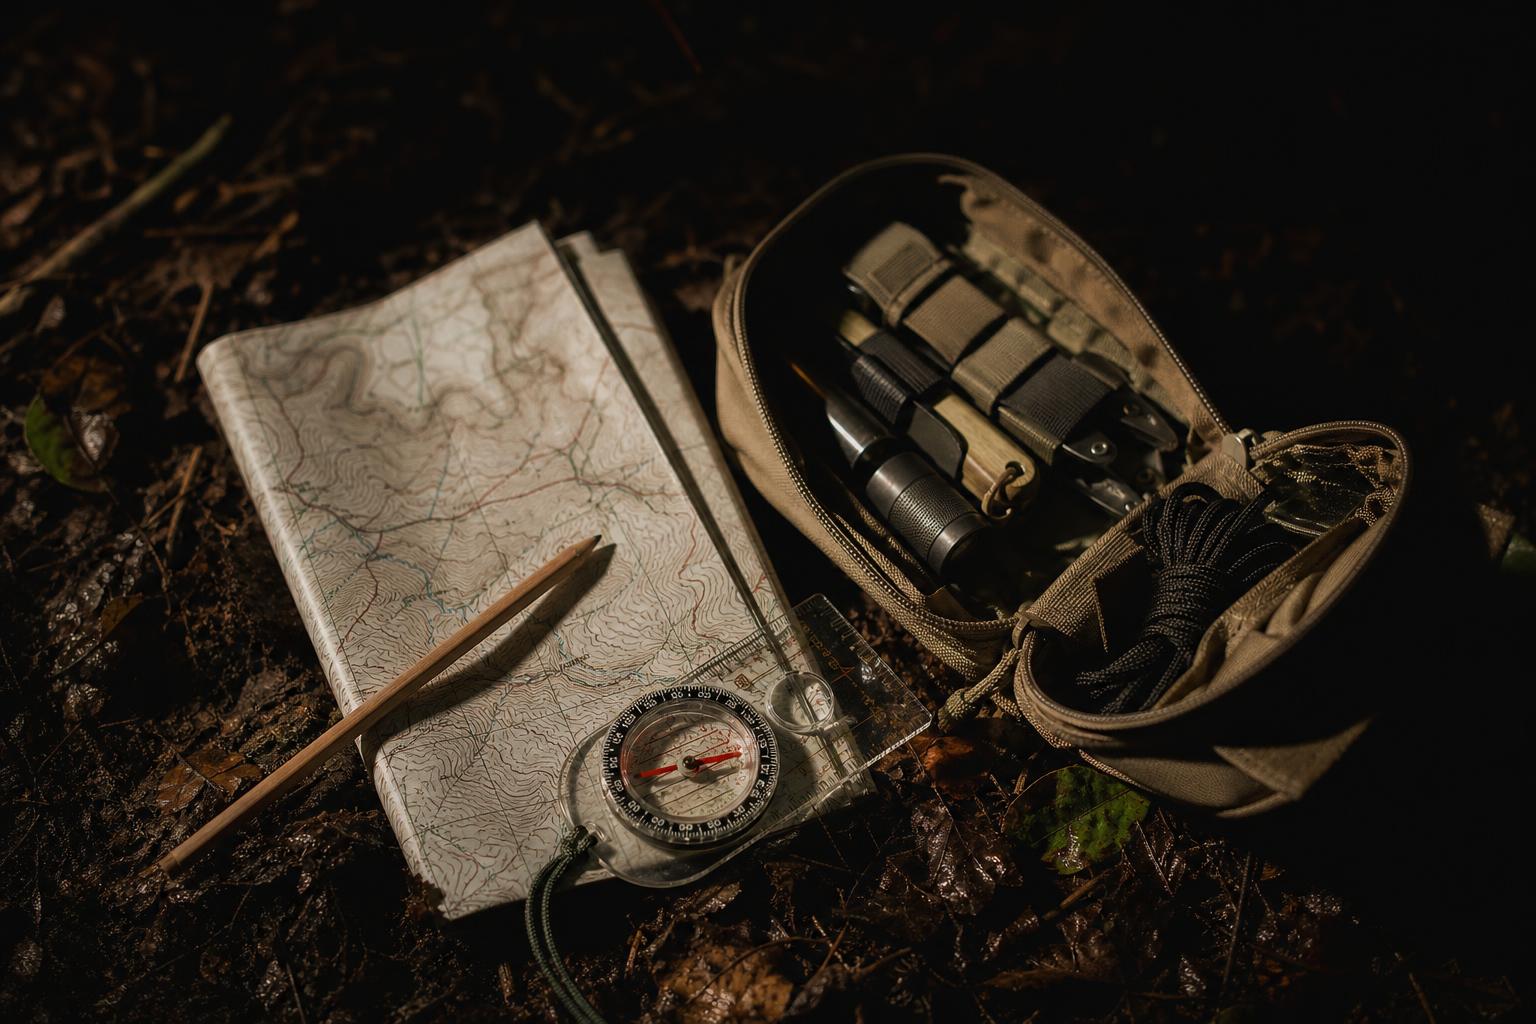
Your navigation kit should be simple: baseplate or sighting compass, current topo map, pencil, waterproof map protection, and the current declination written clearly. If you’re building the rest of the bag, water still outranks comfort. A route decision that puts you far from water creates a second emergency, so pair navigation planning with a real DIY water filtration system for survival instead of assuming you’ll figure it out later.
What is the best beginner compass drill?
The best beginner drill is a short map-to-ground bearing exercise over known terrain where mistakes are visible and low-risk. Practice in a park, farm lane, or open woods before you need the skill under stress.
Pick a starting point you can identify on the map. Pick a destination you can also verify, such as a trail junction, road bend, field corner, or ridge feature. Plot the bearing. Set or convert for declination. Estimate the distance. Walk the bearing in short legs by choosing visible targets. Stop where you think the destination should be, then compare the terrain to the map.
Run the same drill backward. Many people can walk out but can’t reverse the process cleanly. Take the back bearing, handle declination correctly, and return to the start. If you don’t end up where you began, measure the miss and figure out why. Was it bearing error, distance error, bad feature identification, or sloppy map alignment?
Do this in rain and low light after you can do it in good weather. Not as theater. Wet paper, cold hands, and poor visibility expose weak habits fast. If your system only works at a picnic table, it’s not a field system yet.
FAQ
Can I use a compass without a map?
You can use a compass without a map to maintain a direction, but you can’t do serious route navigation that way. A compass gives bearing. A topo map gives terrain, distance, and destination context.
How often should I check declination?
Check declination whenever you’re navigating in a new location or using an older map. NOAA states that magnetic declination changes with location and time, so yesterday’s number from somewhere else is not good enough.
Is grid north the same as magnetic north?
No. USGS topo maps may show true north, grid north, and magnetic north separately. Grid north follows the map grid, while magnetic north is where the compass needle points for that location and time.
Conclusion
Compass navigation isn’t hard. Bad compass navigation is just easy. The difference is whether you respect declination, understand the north references on your map, and keep checking direction against distance and terrain.
Learn the process before the emergency. Put a real compass and current topo map in your kit, write down current declination, and practice until the steps are boring. For more practical field skills you can print, pack, and use offline, grab the free survival guide PDFs.