How to Make a Survival Shelter for Cold Wind and Rain

Most shelter advice online is campcraft theater. It gives you a beautiful little woods cabin made from poles, moss, and two hours you don’t have. Real survival shelter work is uglier, lower, faster, and far more concerned with wet ground than with Instagram lines.
If you’re searching how to make a survival shelter, the answer changes with the threat. Wind wants low profile and a tight back wall. Rain wants pitch, drainage, and no contact with cold wet soil. Cold wants insulation under you before it wants a roof over you. Miss that order and the roof becomes decoration.
A fixed defensive shelter at home is a different animal. If you’re planning property-level cover, that belongs in the category of a cheap backyard bunker, not a field shelter. In the woods, your job is to stay alive through the next bad night with the materials and daylight you still have.
A field shelter has four jobs, not forty
A survival shelter must stop wind, shed rain or snow, insulate you from the ground, and stay small enough to conserve body heat. That’s it. If a shelter does those four things, it can look like a trash pile and still be correct.
This is where people burn themselves. They build tall. They build wide. They build something they can sit inside and admire. Then the wind strips heat through the opening, the ground pulls heat through their hips, and the roof they spent an hour weaving does nothing about either problem.
The U.S. Army’s survival guidance treats shelter as a practical heat-and-weather problem, not a construction contest. Its field guidance covers quick shelters like poncho lean-tos, poncho A-frames, and debris huts, but the principle behind all of them is the same: use what you have to reduce weather exposure fast. The Army also emphasizes that the location has to provide materials, protection from weather, and freedom from hazards, not just a flat spot that looks comfortable. The original manual is available through the U.S. Army ATP 3-50.21 Survival manual.
Bad ground ruins good shelters
The fastest way to wreck a shelter is choosing the site after you start building. Site first. Poles, tarp, leaves, and cordage second.
A usable shelter site has nearby building material, some natural weather protection, and no obvious hazard sitting above, below, or around you. The Army specifically warns against hazards such as dead trees, rockslide zones, mudslide areas, flash-flood zones, high-water marks, insects, reptiles, poisonous plants, and low ground that acts as a cold air sump.
Dead trees deserve special contempt. A standing dead tree does not care that you are tired. A dead limb hanging above camp is not rustic ambience. It is a spear with patience. Don’t sleep under it.
Low ground is the mistake that looks smart at dusk. It may be flat. It may be soft. It also catches cold air and water. If you see debris lines, polished mud, flattened grass, or high-water marks, that drainage swale is telling you exactly what it does during rain. Believe it.
Good shelter ground is slightly elevated, close to usable material, protected from the worst wind, and boring. Boring is good. Heroic campsites are where cold, wet people spend the longest nights of their lives.
How do you make a survival shelter fast when wind is the main threat?
Build a low lean to shelter with its back toward the wind, keep the roof angle tight, and make the sleeping space no larger than your body requires. Wind steals heat by moving warmed air away from you, so height and open space are the enemy.
A lean-to is the right first move when you have a poncho, tarp, emergency blanket, or large sheet of waterproof material and one dominant wind direction. Tie or anchor the top edge between trees, poles, or trekking poles. Stake the lower edge to the ground on the windward side. The open side faces away from the wind. If the wind is pushing rain under the roof, you pitched it too high or too shallow.
The common error is setting the ridge at chest height because it feels roomy. Roomy is a luxury shelter word. In survival shelter work, roomy means more air for your body to warm and more space for wind to churn. Drop the roof. Crawl in. Keep it mean and low.
If you don’t have cordage, use forked branches, roots, vines, pack straps, or strips cut from noncritical fabric. Don’t sacrifice clothing you still need for warmth unless the weather math forces it. Clothing is mobile shelter. Once you cut it up, it stops doing its first job.
Face the solid side into the wind and use brush, rocks, packs, or logs to seal the edges. A small gap becomes a cold air nozzle at 2 a.m. In the field, you can feel the failure with your hand. Lie down inside, raise your hand near the ground edge, and check for moving air. If you feel it, block it.
How do you build for rain without waking up in a puddle?
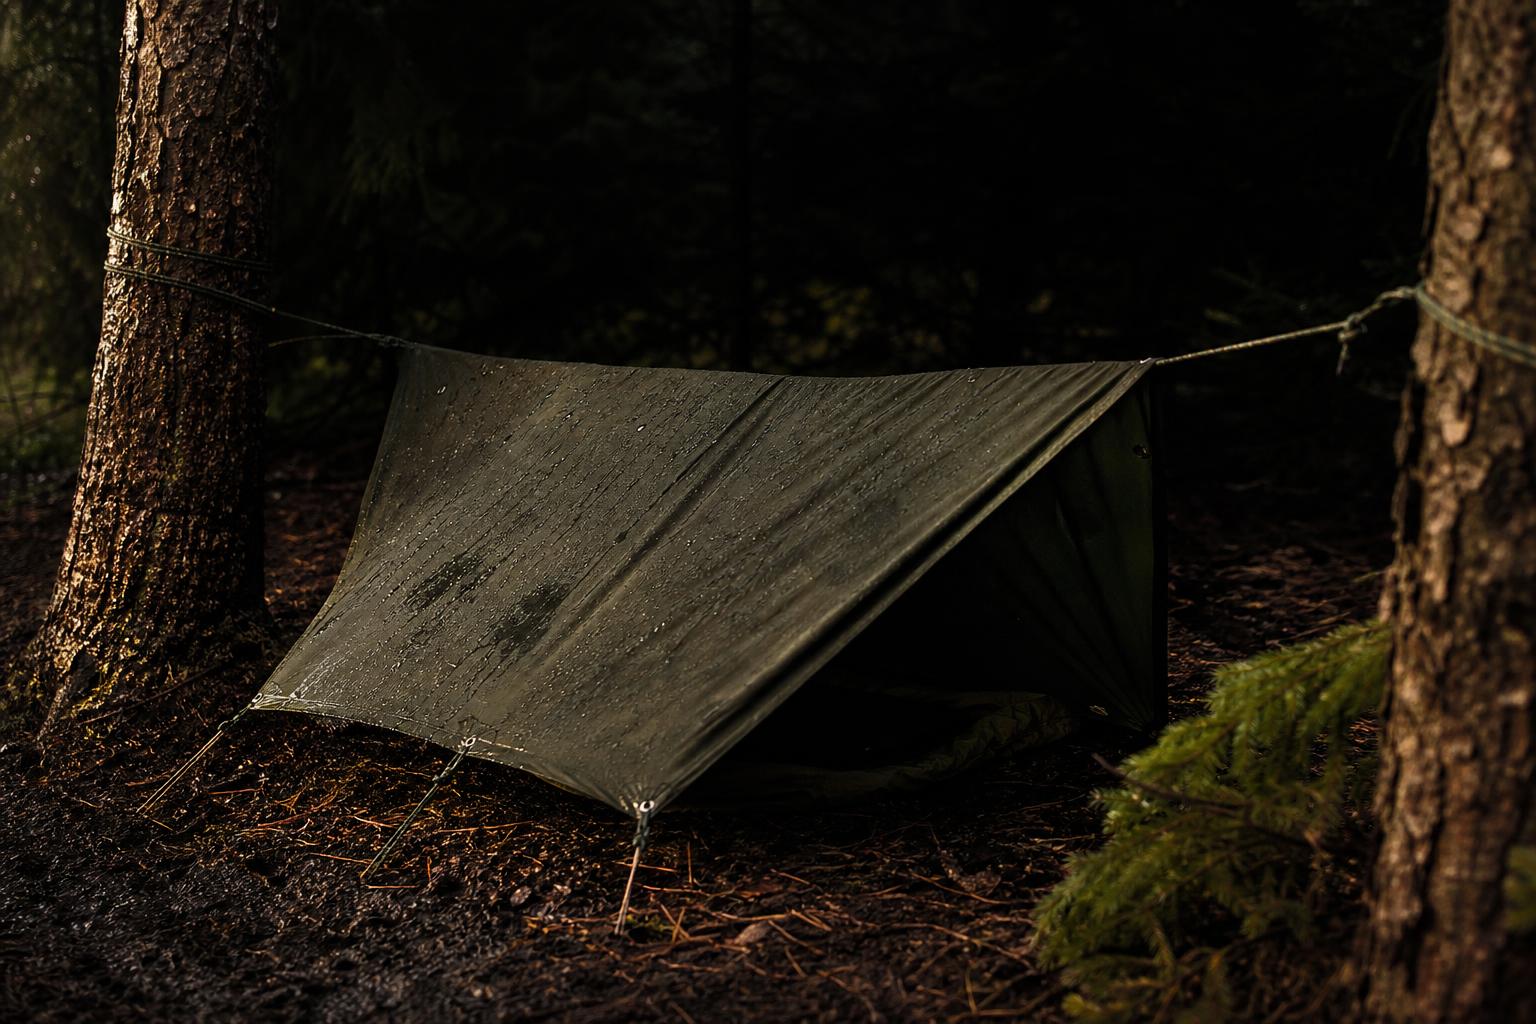
Rain shelter requires a shedding roof, a dry sleeping platform, and a site that will not turn into a drain channel. A perfect tarp pitch over bare wet soil is still a failed shelter.
Rain punishes sloppy angles. A flatter roof gives water more time to pool, sag, and find weakness. A steeper pitch sheds water faster, especially with a poncho or tarp. Tighten the fabric as evenly as you can and keep the sleeping area away from the edges where runoff falls. If leaves, poles, or your shoulder press into the underside of a thin roof surface, you’ve created a place where water can transfer through or drip.
The Army includes poncho shelters because a poncho is not just rain clothing. It is shelter material. A poncho lean-to works fast in a one-direction storm. A-frame pitch works better when rain and wind are less predictable because both sides slope to the ground. The tradeoff is interior space, which is fine. Interior space is not the mission.
Do not dig a trench around your shelter as a first reflex. The smarter fix is choosing ground that already drains. If you are on ground with high-water signs or obvious runoff paths, you are not improving a bad camp. You are decorating a bad decision.
Your pack and gear matter here. Put insulation under you, keep the pack inside or under cover if it contains spare layers, and protect your dry items like they are medical supplies. Once your spare clothes are soaked, your options collapse fast.
Cold shelter starts with the bed, not the roof
A resting person can lose as much as 80 percent of body heat to the ground according to Army survival guidance. That single fact should end the debate. Ground insulation is not optional.
The roof gets attention because it is visible. The bed saves you because it interrupts conductive heat loss into cold soil, wet leaves, rock, or snow. If you have a foam pad, use it. If you have a pack, put it under your torso or hips. If you have spare clothing, dry leaves, evergreen boughs, bark slabs, grass, or other safe local material, build a mattress before you waste energy improving the roofline.
The bed should be thicker than feels reasonable. Wet ground compresses poor bedding fast. Your shoulder and hip are the test points. Lie down for thirty seconds. If cold pushes through your hip, add more. If your bedding is full of bugs, poisonous plants, or wet rot, move or change material. The Army’s warning about insects, reptiles, and poisonous plants is not a footnote. It is the difference between using nature and lying in a problem.
Small shelter volume also matters in cold. Big shelters leak heat by design. A cold-weather field shelter should be low, narrow, and miserable to hang out in. That is praise. You are not hosting dinner. You are conserving heat.
The debris hut is a body-sized sleeping bag made from local material
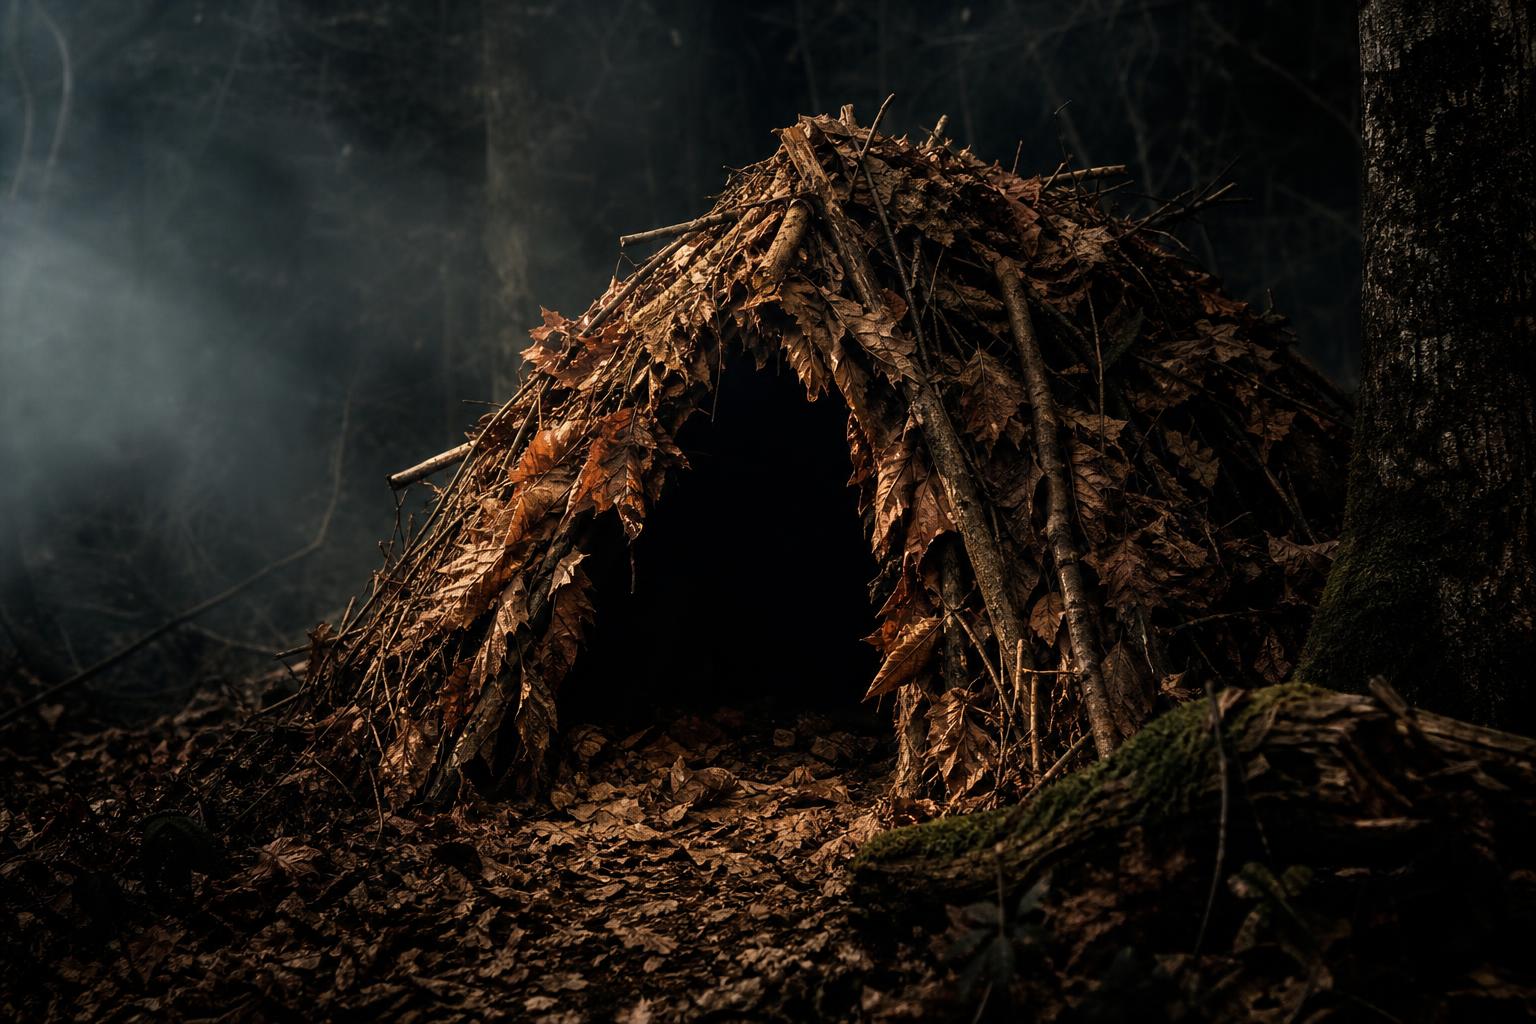
A debris hut is the shelter to build when you lack a tarp or poncho and have enough branches and leaf litter. It works by creating a small body-sized cavity, a raised insulated bed, and a thick outer layer of debris that blocks wind and traps dead air.
Start with the bed, not the frame. Lay down insulating material where your torso will rest. Then place a ridgepole low enough that, once ribbed and covered, the inside space barely fits you. One end can rest on a stump, forked support, rock, or low branch. The other end can run down near the ground. Add ribs along both sides like a narrow wedge, then add smaller sticks across the ribs to keep debris from falling through.
Now bury it in leaves, grass, bark, boughs, or whatever safe dry-ish material the area gives you. A debris hut without enough debris is just a wooden colander. Wind will cut through it and rain will exploit every gap. Keep adding material until the surface sheds weather and the inside stops breathing cold air through the walls.
The entrance should be small. Plug it with your pack, more debris, or a bundle of material after you crawl in. If you can roll around comfortably inside, you built a cold room, not a survival shelter. Cramped is correct.
Debris huts take more time than a poncho shelter. That is why people who carry no shelter layer are gambling with daylight. The method works, but it charges labor up front. In cold rain, that labor cost matters.
Use an A-frame when weather attacks from more than one side
A poncho or tarp A-frame gives better all-around coverage than a lean-to when wind shifts or rain blows sideways. Pitch a ridgeline low, drape the poncho or tarp over it, and stake both lower edges close to the ground.
The A-frame is not magic. It still fails without ground insulation and a decent site. Its advantage is symmetry. Rain runs off both sides, the low profile reduces wind exposure, and the smaller interior traps less dead space than a tall tarp tent.
If you only have one poncho, the A-frame can feel coffin-tight. Good. A survival shelter should force hard choices in your favor. It gives up elbow room to buy weather resistance. Keep the opening narrow, block the windward end if needed, and point the entrance away from the weather.
The lean-to is faster when wind direction is clear. The A-frame is better when the weather is unsettled. The debris hut is the no-tarp answer when there is enough natural material. Choosing the wrong one because it looks cooler is amateur hour.
The 10 essentials for hiking matter because shelter starts in your pack
Any list of the 10 essentials for hiking that treats rain protection as optional is not serious. The National Park Service warns that hypothermia is a year-round risk, driven by sudden storms, cold water, wet clothing, and wind even when the day did not start out looking dangerous.
The shelter you build in the field is only one layer of the system. Your clothing is another. NPS hypothermia prevention guidance centers on avoiding becoming chilled and wet, using wicking layers, avoiding cotton and jeans, and carrying a waterproof or rainproof layer. That is not fashion advice. Cotton and denim become cold wet anchors when the weather turns.
This is where ultralight pride gets people stupid. Leaving the rain layer behind because the forecast looks friendly is how a mild day turns into a wilderness first aid problem. A poncho, rain shell, tarp, emergency bivy, or other waterproof layer buys time. Time is the only currency that matters once wind and wet clothing start working together.
Pack shelter items where you can reach them without unpacking your life in the rain. If your tarp is under food, cookware, and spare socks, you arranged your pack for fair weather fantasies. Shelter comes out first when the sky goes wrong.
Wilderness first aid begins when the shelter is not enough
Hypothermia signs mean your shelter, clothing, or timing has already failed. Watch for uncontrolled shivering, confusion, poor coordination, stumbling, slurred speech, and unusual exhaustion.
The National Park Service’s Rocky Mountain National Park hypothermia guidance is blunt about prevention and response: avoid getting chilled and wet, use proper layers, and act fast when symptoms appear. In the field, that means getting the person out of wind and rain, replacing wet exposure with dry insulation if available, and treating the situation as urgent.
Do not wait for dramatic symptoms. A shivering person who starts making bad decisions is not being difficult. Their body is losing the fight. Shorten the shelter. Add ground insulation. Block wind leaks. Get wet clothing out of the system when you can replace it with dry coverage. If the person is confused or deteriorating, evacuation and outside help become the priority.
A shelter is not a hospital. It is a way to stop the environmental beating long enough to think clearly and survive the night.
Fast shelter decision rules
Use the weather, not your ego, to choose the build.
- Strong wind from one direction: build a low lean-to with the back into the wind and the sleeping area sealed near the ground.
- Rain with shifting wind: pitch a low A-frame and keep the entrance narrow and sheltered.
- Cold ground: build the bed first, then improve roof and walls.
- No tarp or poncho: build a debris hut only if you have enough safe material and daylight to make it thick and small.
- Hazardous site: move before building. Dead trees, high-water marks, slide areas, poison plants, insects, reptiles, and cold low ground do not become safe because you are tired.
The correct shelter is usually the one you can finish before your hands get clumsy. Fancy joinery and perfect ridgepoles belong to practice days. Survival nights reward fast, low, insulated, rain-shedding work.
FAQ
What is the fastest survival shelter to build?
A poncho or tarp lean-to is usually the fastest when wind comes from one clear direction. It needs a low top edge, a staked bottom edge, and enough ground insulation to stop heat loss into the soil.
Is a debris hut warmer than a tarp shelter?
A properly built debris hut can conserve body heat well because it is small, insulated, and wind-resistant. It also takes more labor than a poncho shelter, and a thin debris hut is just a bad roof over cold ground.
Can hypothermia happen in summer?
Yes. NPS warns that cold water, wet clothing, wind, and sudden storms can create dangerous hypothermia even on otherwise mild days. Wet and windy beats the calendar.
Build the ugly shelter that wins the night
The right survival shelter is not photogenic. It is low, tight, insulated underneath, and built on ground that will not kill you while you sleep. Start with site selection. Block wind. Shed rain. Get off the ground. Keep the space small enough for your body heat to matter.
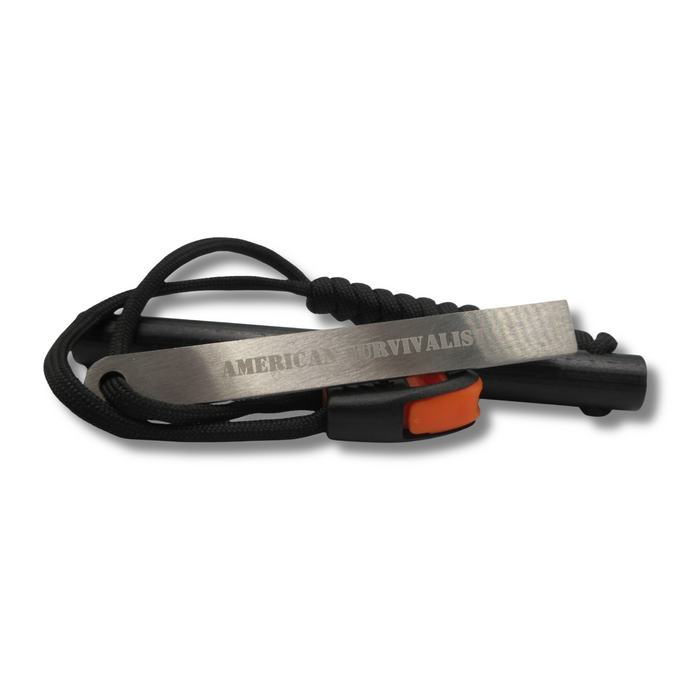
Practice this before weather forces the lesson. Download the free survival guide PDFs and add shelter drills to your next field day. If your cold-weather plan also includes an outside fire where conditions and rules allow it, carry a tool that works when matches are gone. The American Survivalist Large Ferro Rod with striker throws 5,400F+ sparks from a half-inch ferrocerium rod and is rated for 15,000+ strikes. Shelter first, fire second, ego nowhere.