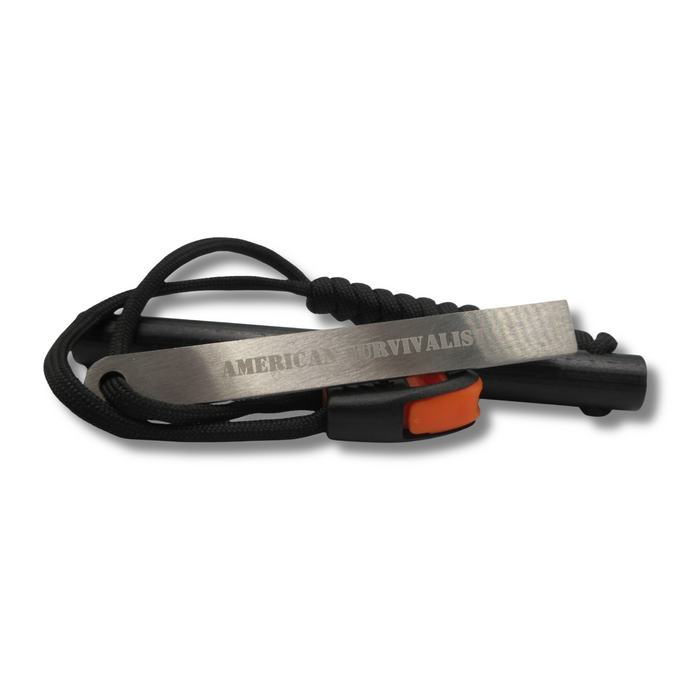
Ferro Rod Survival Guide: Sizes, Strikers, Tinder, and Field-Proven Tips

Most ferro rod advice is backwards. It obsesses over showering sparks like a fireworks show, then ignores the tinder, the striker edge, the kindling sizes, and the fire site. That’s why people can scrape a rod for five minutes, get angry, and declare the tool useless while sitting beside a pile of damp round sticks that were never going to light.
A ferro rod is a serious fire starter, but it’s not magic. It throws hot sparks. That’s all. Fire comes from a complete system: ferro rod, sharp scraper, prepared tinder, graduated kindling, oxygen, and a safe place to burn. Skip one piece and you’re not fire starting. You’re making sparks in the dirt.
What size ferro rod belongs in a real survival kit?
A primary ferro rod should be at least 3/8 in diameter and 4-5 in of usable length. For harsh weather, wet fuel, cold fingers, or gloves, a 1/2 in rod in the 5-6 in range is the better survival choice.
The tiny 1/4 in by 2-3 in keychain rods work, and I’m not pretending they don’t. They’re just lousy as a primary tool. They’re hard to grip when your hands are numb, easier to drop, harder to aim, and less efficient when you’re trying to build a fire under stress. A little backup rod beats nothing, but it’s not the same thing as a real working fire starter.
The minimum all-around survival size is 3/8 in, about 9.5 mm, by 4-5 in, about 100-125 mm. That gives you enough handle control to plant the scraper where you want it and enough scraping surface to work consistently. The wet-weather and cold-weather size I recommend is 1/2 in, about 12.7 mm, by 5-6 in, about 125-150 mm. That extra diameter isn’t a luxury. It gives you more control, more scrapable surface per stroke, and better handling when your fine motor skills are already going downhill.
The smallest kit I’d accept for real use is one primary ferro rod in that 3/8 in by 4-5 in range, plus a lighter and protected tinder. Better yet, carry a 1/2 in by 5-6 in rod, a lighter, and tinder you’ve kept dry on purpose. A ferro rod is durable and dependable, but turning it into your only ignition source is gear worship, not survival planning.
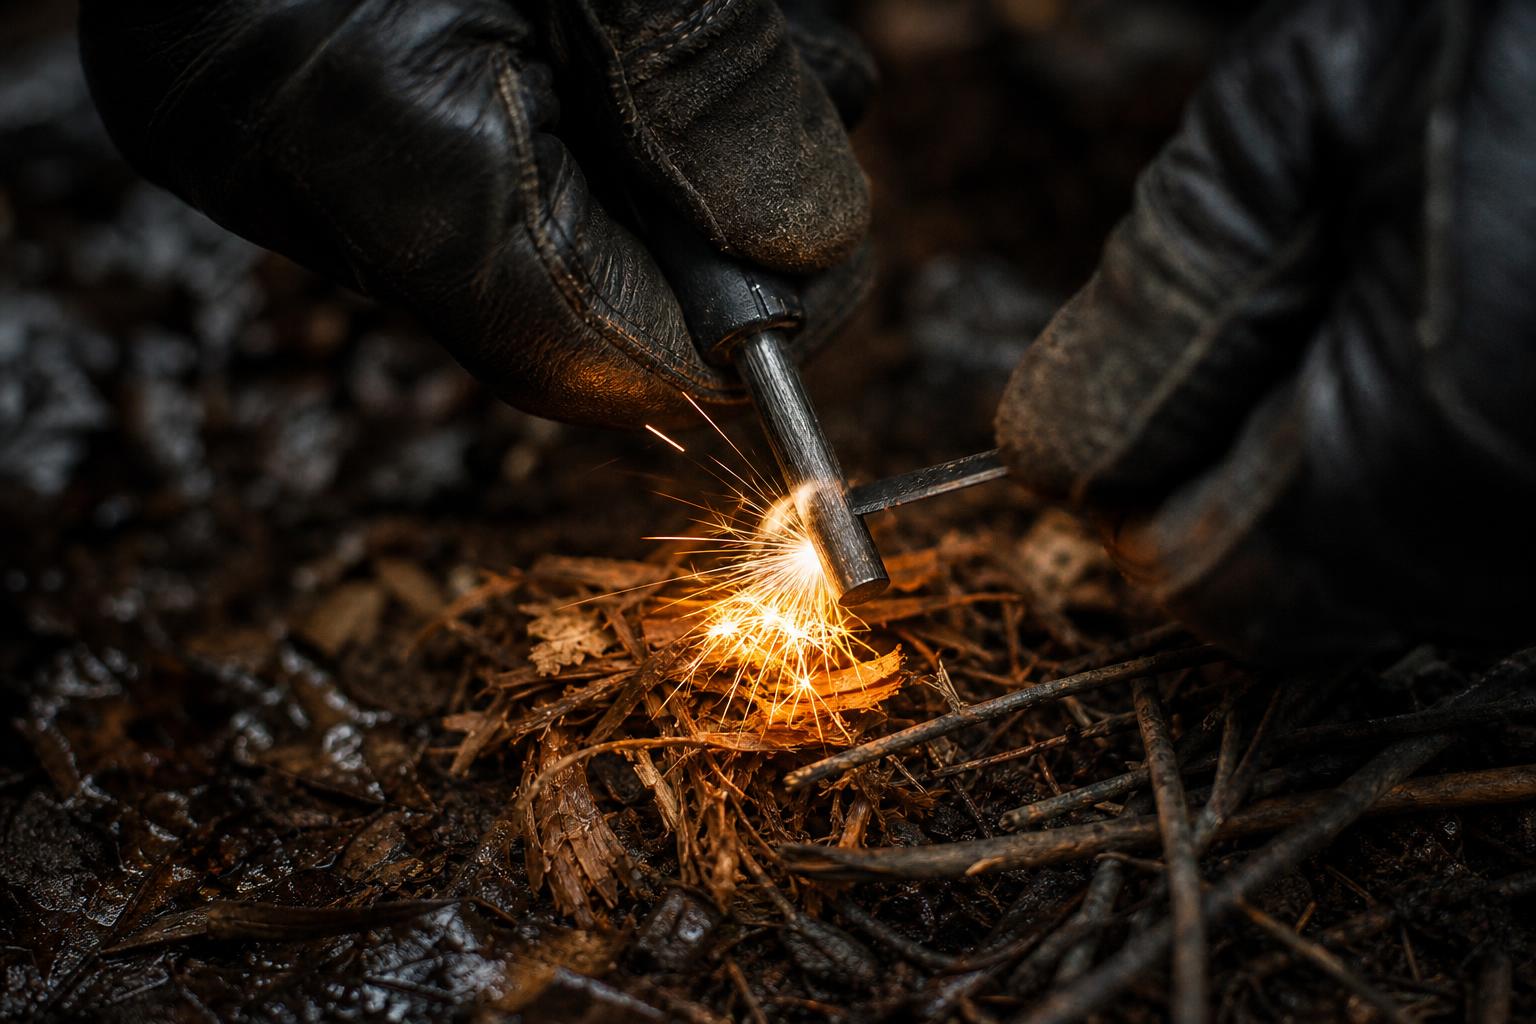
Why does a ferro rod throw sparks but still fail to light a fire?
A ferro rod fails when the sparks land on tinder that can’t accept them or on fuel that isn’t ready to burn. The spark temperature is high, but each spark is tiny and brief, so tinder quality decides the outcome.
Ferrocerium works because scraping the rod removes tiny particles that oxidize rapidly in air. The American Chemical Society paper Customizing the Appearance of Sparks with Binary Metal Alloys reports measured ferrocerium spark temperature at 2815 K, roughly 2542°C or 4608°F. That number sounds like it should light anything. It won’t.
The part people miss is mass and duration. The sparks are extremely hot, but they’re small. They don’t have the staying power of a match flame. They need fine, dry, receptive tinder with enough surface area to catch before the heat vanishes. If the tinder is damp, packed too tight, too coarse, or sitting on cold wet ground, you can throw world-class sparks into it and still get nothing but smoke and profanity.
That’s the hard truth other blogs dodge. The rod didn’t fail. Your fire lay failed. Your tinder prep failed. Your striker edge failed. The spark did exactly what sparks do.
The striker edge matters more than the striker material
The striker does not need to be carbon steel. It needs a hard, sharp, square edge that can shave material off the ferro rod. That’s the job.
A good ferro striker has a crisp 90-degree scraping edge. Not a rounded bottle opener. Not a polished knife spine. Not a soft corner that skates along the rod and makes a sad little orange dust trail. The edge has to bite. If it doesn’t remove material from the rod, it won’t make strong sparks.
This is where a lot of cheap kits reveal themselves. The rod is fine, but the included scraper is rounded, flimsy, or poorly cut. People blame the rod because that’s what they’re holding. The real problem is geometry. A square edge cuts. A rounded edge slides.
The same applies to knife spines. Some knife spines are squared off and work well. Others are rounded, polished, coated, or shaped for comfort. Comfortable spines are usually bad scrapers. If your knife spine skates across the ferro rod, stop pretending technique will fix it. Use a proper scraper or square the spine with the right tools before it ever goes in your kit.
Good scraper pressure feels like shaving, not tapping. You’re removing small particles from the rod, not politely rubbing it. Keep the striker edge locked at a steep enough angle that it bites. If you see weak sparks, inconsistent sparks, or no sparks, check edge sharpness before you start blaming weather, brand, or bad luck.
What tinder should you pair with a ferro rod?
A ferro rod needs prepared tinder that is fine, dry, and exposed enough to catch a brief spark. Protected tinder belongs in the kit with the rod, because field-dug tinder is often the weak link.
Do not expect a ferro rod to light thumb-thick sticks. Do not expect it to light a bark slab just because it looks dry on the outside. Do not expect it to light damp leaves you grabbed because you were in a hurry. The rod gives you sparks. Tinder turns those sparks into flame.
Proper tinder for ferro rod work has three traits:
- Fine structure: The spark needs edges, fibers, shavings, or dust-like surface area it can bite into.
- Dry condition: Damp tinder steals heat before ignition can build.
- Loose oxygen flow: Packed tinder suffocates the ember before flame develops.
Fatwood shavings are a common ferro rod pairing because they can be scraped into small curls and fine material, but the same rule still applies: the shavings matter more than the label. A chunk of fatwood sitting there like a little brick is not tinder. Scraped, feathered, or shaved material is tinder.
Make the tinder bundle before you scrape the rod. Put the finest material where the sparks will land. Put slightly larger wisps, curls, or shavings around it. Leave airflow. A tinder bundle crushed into a tight wad doesn’t burn better. It chokes better.
Carry protected tinder. That phrase matters. Tinder floating loose in the bottom of a pack, soaking up humidity and crumbs, is not protected. If your survival kit has a ferro rod but no protected tinder, your kit is half-built.
How should kindling be prepared before the first spark?
Kindling should be graduated from very small material to larger sticks before you strike the rod. If you wait until the tinder is burning to start hunting for pencil-thin fuel, you’re already late.
The correct order is tinder, matchstick-sized kindling, pencil-sized kindling, finger-sized sticks, then larger fuel. The first flame from ferro rod tinder is small and hungry. It needs tiny kindling immediately, not a pile of wrist-thick wood looming over it like a wet roof.
Round sticks are a common reason fires fail in bad weather. The outside is wet, the shape contacts flame poorly, and the inner dry wood never gets exposed. The National Park Service notes in its campfire guidance that wet wood burns slower and overly wet wood may not catch, and that splitting or chopping wood exposes the drier interior and helps it ignite faster.
That’s not a minor tip. In wet conditions, split wood is the difference between a fire and a smoke signal. Use the interior. Even if the outside of a stick is damp, the inside can be better fuel once exposed. Split or shave the smaller pieces first. Build your kindling ladder before ignition.
A good ferro rod fire lay starts small and breathes. Keep the tinder off soaked ground. Stage the smallest kindling close enough to apply immediately. Don’t bury the tinder under a heavy pile. Fire needs oxygen, and a ferro rod flame starts too small to fight through bad architecture.
Is a ferro rod really a waterproof fire starter?
A ferro rod will throw sparks when wet, but that does not make the whole fire-starting system waterproof. Wet tinder, soaked kindling, and unsplit sticks are still going to beat you.
This is the sentence people need burned into their brains: wet-weather reliability comes mostly from tinder preparation and fuel processing, not scraping harder. Scraping harder on bad tinder just makes you tired. Scraping faster on wet round sticks just makes you dramatic.
In rain, the rod is not usually the problem. Wipe it if you want. It’ll spark. The serious work is finding or exposing dry-enough tinder and preparing fuel that can accept the first flame. Split wood. Shave interiors. Make fine curls. Keep the tinder bundle shielded while you work. Place your kindling so the small flame can climb naturally instead of getting smothered.
People love the phrase waterproof fire starter because it sounds like a solved problem. It isn’t. A ferro rod is waterproof as an ignition tool. Fire is not waterproof. The fuel still has to burn.
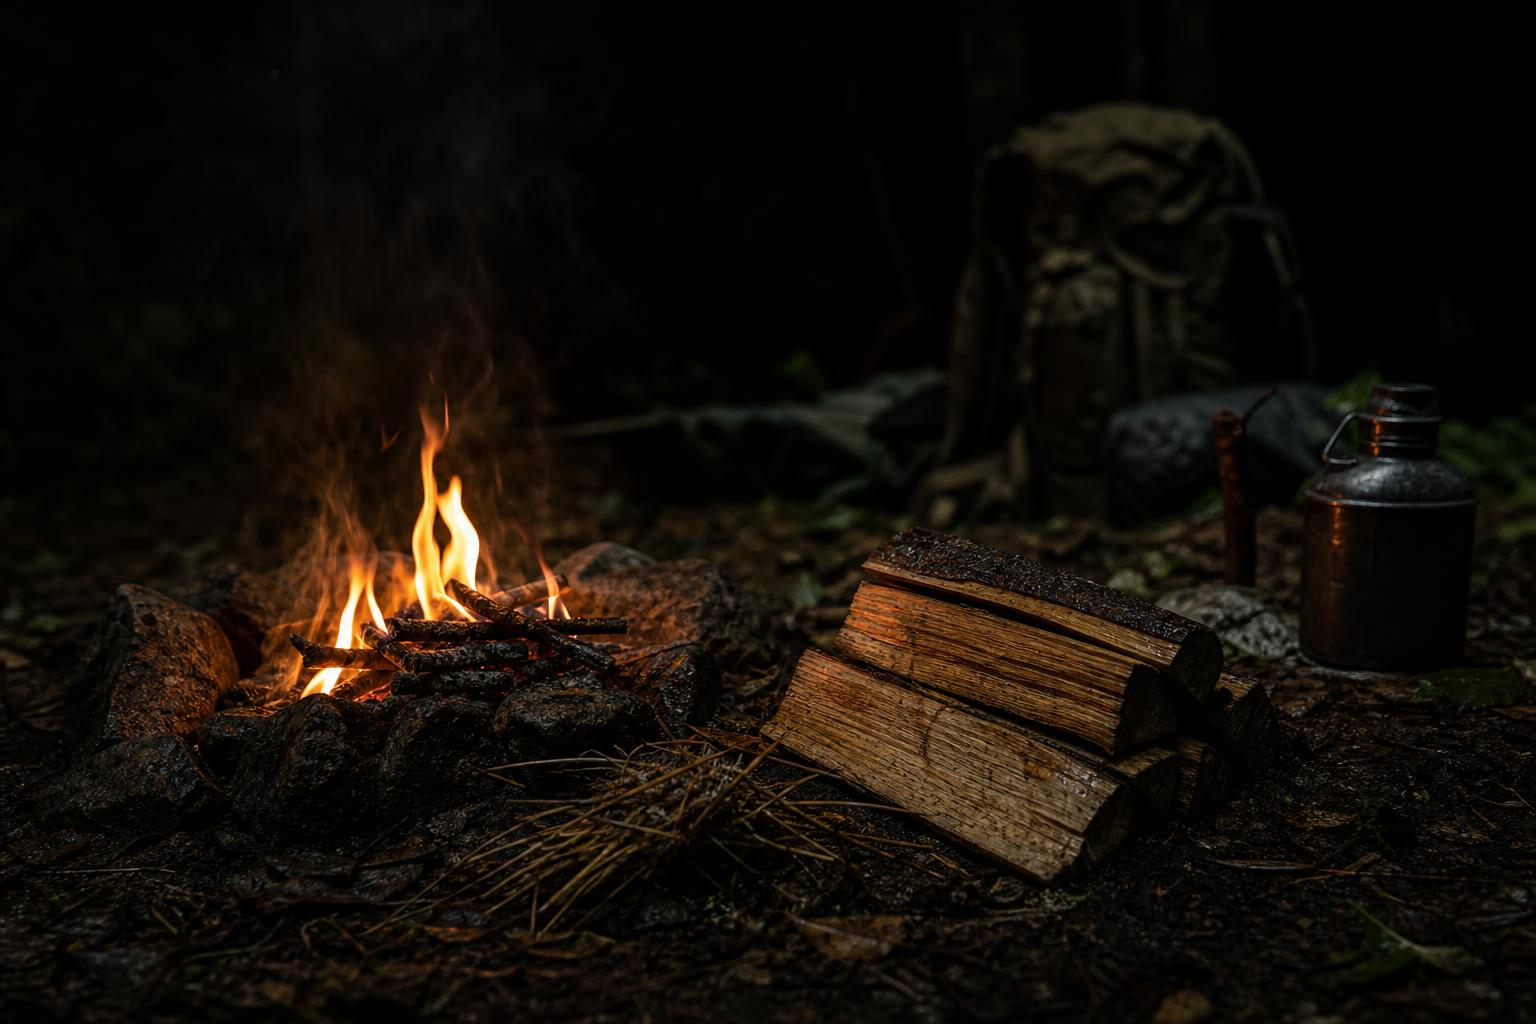
What is the right ferro rod technique?
The cleanest technique is to hold the scraper steady near the tinder and pull the rod back. This keeps the sparks aimed and prevents you from smashing the tinder pile with your hand.
Most beginners push the scraper forward like they’re trying to carve a stick. That works poorly because the hand motion drives into the tinder, scatters the bundle, and ruins the aim. Plant the scraper near the target. Lock the angle. Pull the rod back under the edge. The sparks fall where the scraper is, not where your rod tip wanders.
Keep the ferro rod close to the tinder, but don’t crush the tinder. A one-inch miss is a miss. With excellent tinder, you can get away with sloppy aim. With marginal tinder, you need the sparks landing in the finest material every stroke.
Use firm pressure and a cutting edge. Long, controlled strokes are better than frantic little scratches if the tinder is ready. If you need a pile of scrapings, you can deliberately scrape some material onto the tinder first, then throw sparks into it. That’s useful when the tinder is borderline, but it’s not a fix for soaked garbage.
Practice with cold hands. Practice with gloves. Practice in wind. Practice after dipping the rod in water, then compare the result when your tinder is dry versus damp. The lesson comes fast: the rod keeps working, the tinder decides.
What fire safety rules apply before you strike the rod?
Check local rules, fire conditions, and burn bans before you build a fire. Keep tents, gear, and flammables at least 15 ft away and upwind, keep the fire small, never leave it unattended, and have water nearby.
That’s National Park Service guidance, and it’s not optional if you care about staying alive and not turning your campsite into a problem for everyone else. A ferro rod makes ignition easy enough that careless people start fires in places they shouldn’t. Don’t be that guy.
Build in a safe, legal fire site. Clear the immediate area. Keep the fire small. A survival fire is not a bonfire. Small fires are easier to control, easier to feed, easier to conceal if that matters, and easier to put dead out.
Extinguishing is part of fire starting. Douse the coals, stir them, and make sure they’re safe before you leave. If there’s no water available to extinguish the fire properly, that should affect your decision before ignition, not after you’ve made a mess.
The survival community talks endlessly about gear and not nearly enough about field discipline. A ferro rod in the hands of a lazy camper is just another way to start a preventable fire.
Best ferro rod setup for a survival kit
The best ferro rod setup is a full fire module, not a loose rod at the bottom of a pouch. It should include the rod, a sharp scraper, protected tinder, a lighter, and enough practice that you know the system works.
Build it like this:
- Primary ferro rod: 3/8 in by 4-5 in minimum, preferably 1/2 in by 5-6 in.
- Backup ignition: A lighter, because redundancy beats ego.
- Protected tinder: Fine, dry material kept ready for sparks.
- Sharp striker: A hard tool with a crisp 90-degree scraping edge.
- Fuel plan: Split kindling and staged sizes before ignition.
The rod has to be large enough to use repeatedly. Survival gear that only works in calm weather with warm hands is range-day jewelry. If your hands are cold, wet, shaking, or gloved, a thicker and longer rod is simply easier to run.
Store the striker with the rod. A ferro rod without a working scraper is still usable if you have another sharp square edge, but that assumes too much. Keep the system together. Then test that exact system, not some fantasy version of it, in your backyard before you depend on it in the rain.
FAQ
Can a ferro rod replace a lighter?
No. A ferro rod is durable and works when wet, but it should not be your only fire tool. A real survival kit carries a ferro rod, a lighter, and protected tinder.
Do I need a carbon steel striker?
No. The striker material is not the point. You need a hard, sharp, square scraping edge that can shave material from the rod.
Why won’t my ferro rod light damp tinder?
The sparks are hot but tiny and brief. Damp tinder absorbs heat and fails before ignition can build, so dry, fine, prepared tinder is the job.
Conclusion
A ferro rod is one of the best survival fire tools when it’s treated as part of a system instead of a magic wand. Buy a rod big enough to grip, use a real square-edged scraper, carry protected tinder, split your wet wood, and build the fire small enough to control. That’s the difference between field competence and spark theater.
If you’re tightening up your kit, download the free survival guide PDFs and build your fire module around a serious primary rod like the American Survivalist Large Ferro Rod with striker. Then practice until you can light prepared tinder without thinking about it.